For they all made us afraid, saying, Their hands shall be weakened from the work, that it be not done. Now therefore, O God, strengthen my hands.
Nehemiah 6:9
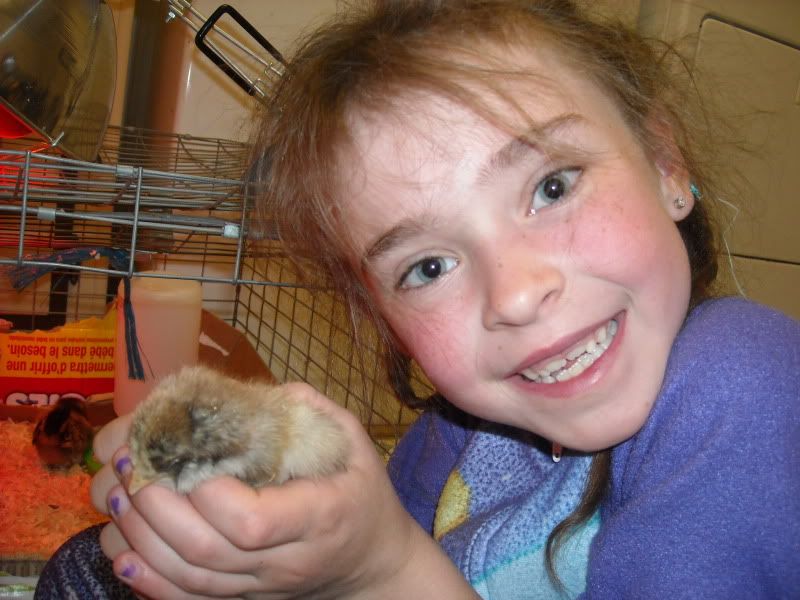
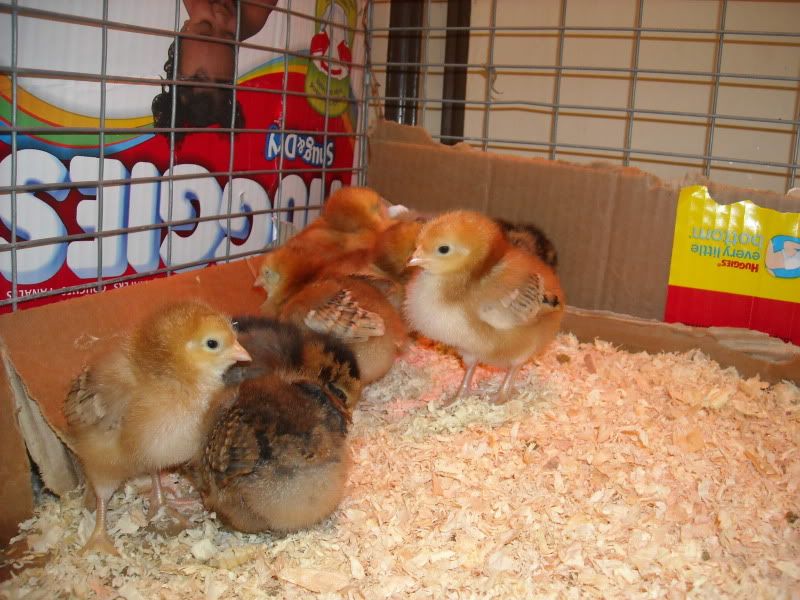
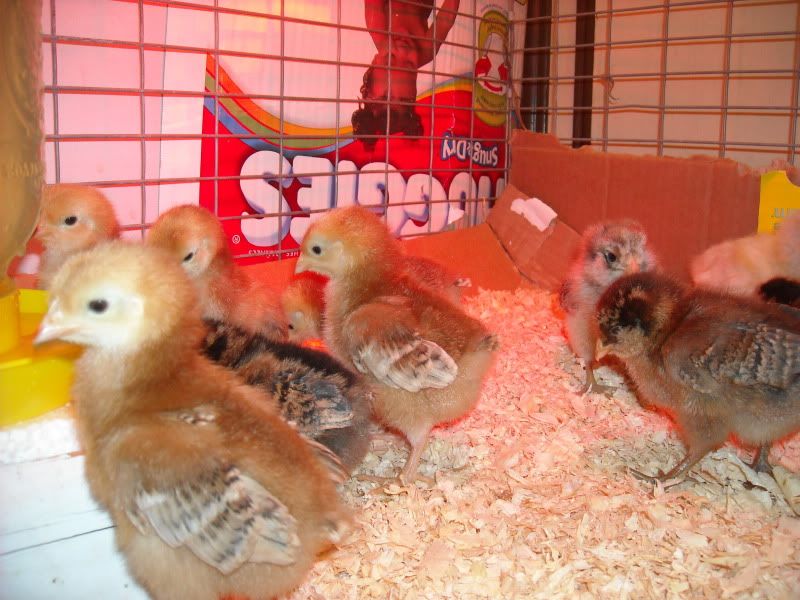
What a bountiful blessing the Lord has provided us with! We welcomed 10 new sweet babies into our family recently! As soon as they start laying we should be getting around 10 eggs per day for our family! What a blessing!

We ended up choosing two different breeds, both known for their good laying abilities. The first breed we choose was the Ameraucan. These sweet little birds are multi colored and lay blue, green, and white eggs! how fun is that! And the eggs are known to be a larger egg as well! The second breed we choose was the Rhode Island Red. These chicks are much more feisty but still very sweet. I have been extremely happy with both breeds thus far but particularly like the Ameraucans for their sweet calm personalities. Both breeds we choose for their good laying ability and the fact that they are both considered a good combination breed. Meaning that when they are done laying in 3-4 years they are also meaty enough to be able to butcher and have a decent quantity of meat.

Getting Started
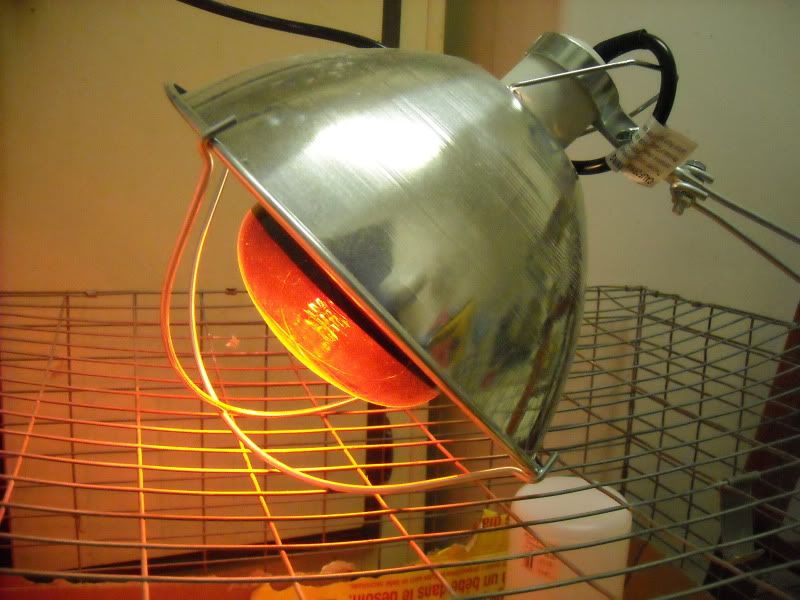
The first thing we did was work out a brooder for them. Or in other words a box of some sort that they will live in their first 4-5 weeks before going outside into their coop. We used a wire cage but in the future I would use a clear rubber made box because they are constantly scratching at the pine chips and making a mess on my floor. For ten chicks I would use a big old long Rubbermade tub so they have enough room to get around. I saw some great instructions for making a top here that is super easy.
Buy List
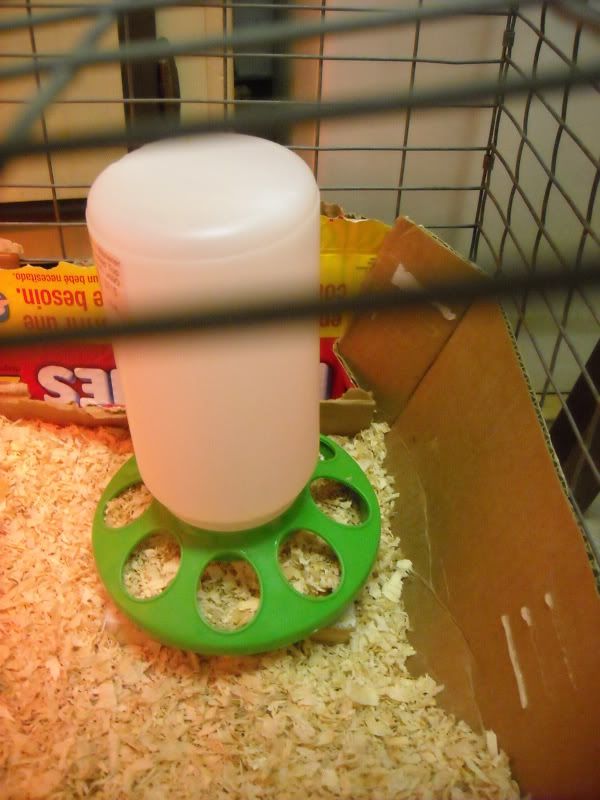
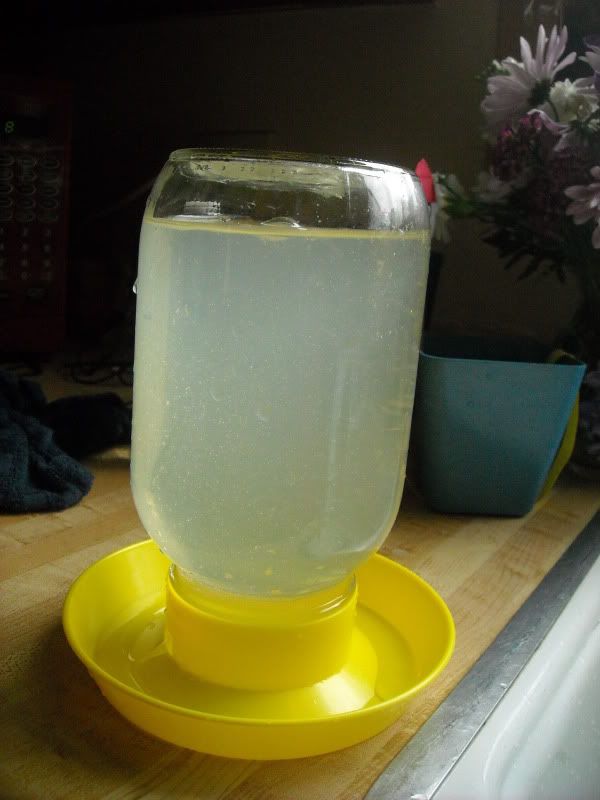
3. Waterer

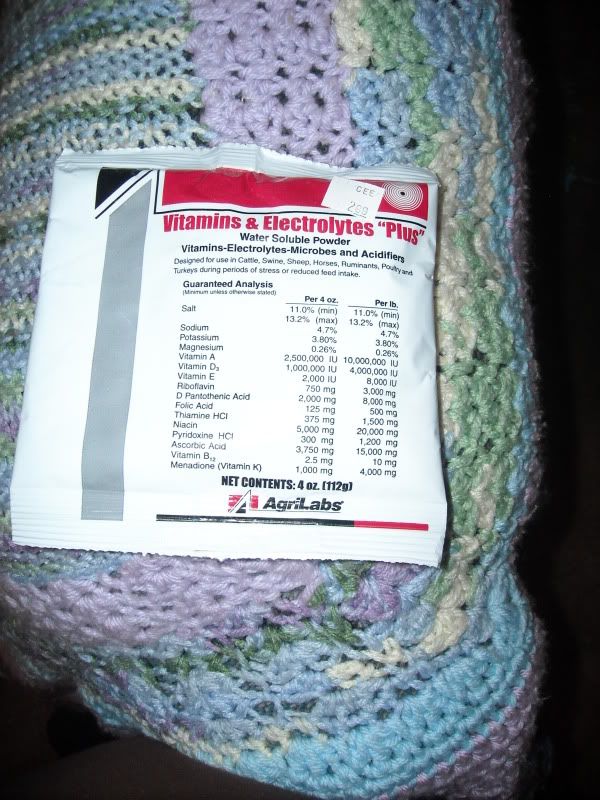
6. Electrolytes . Add a sprinkle or two into their water while they are still in their brooder. this came at the recommendation of the Farm and Feed store I go to.
8. Pine chips. Don't use cedar as it is toxic to chicks. You can also use newspaper, hay, or any other material like that, but pine is super absorbent, smells good, and is cheap.
And that's about it. We put their waterer up on wood at head level for them so they don't poop in it and also they will scratch pine chips into it and it will soak their water out all into their bedding. I tried Styrofoam at first but they pecked and ate that all to bits! We left the first day we got them without knowing this and came back to chicks with no water and wet bedding! Not good! We thought we were going to loose one of them for a while she was lethargic and kept to herself but she came through great! Praise God!
Around two-three weeks your chicks will love you if you bring them treats! My children bring them rolly polly bugs from the yard and they go nuts! They LOVE these! We have given them apple and lettuce but the bugs are their favorite by far. They will fight over them and try to crawl up the children's arm looking for more. The children get a great big kick out of this fun!
No comments:
Post a Comment